
Getting under the hood with PyTorch
So ComfyUI is by no doubt a great tool for not just creating but prototyping a system depending on your mindset. We are going to go under the interface and decide to run flux-snchell directly for a beginner project to create an automatic prompter that doesn't contain the cache as ComfyUI would so for a multi user prompting system or just one that doesn't cache the current prompt to hold your VRAM while you want to run another function.
After more play in ComfyUI, yes you can do this all right in your workflow but if your more comfortale with the idea of just writing it out or turning it into a thing to add easily to another tool you might want to go the route of just making a service out of it that can be called and shut off without using ComfyUI to load everything.
Lets dig in, to start ensure pytorch is installed, lets just go over it again. If pytorch is not installed or making a new environment create your new environment with
python -m venv .venv
source .venv/bin/activate
Create a new environment named .venv or any name and activate it
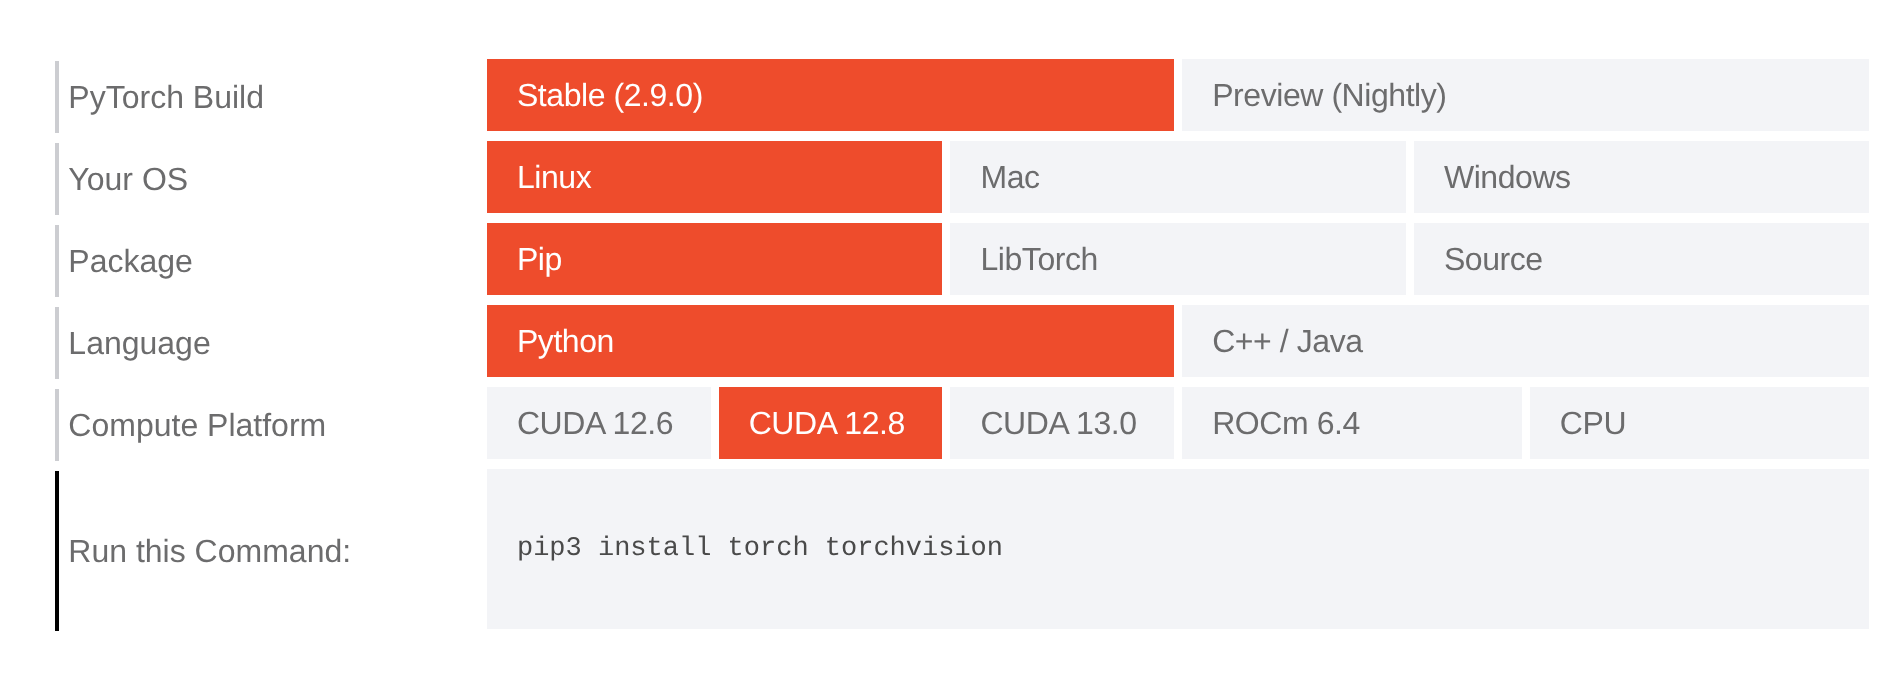
Now we have to get the files for pytorch at https://pytorch.org/get-started/locally/ . Set the options for your system Windows, Mac, or Linux and the available CUDA version or if you are using AMD hardware select ROCm and run the given command in your active environment.
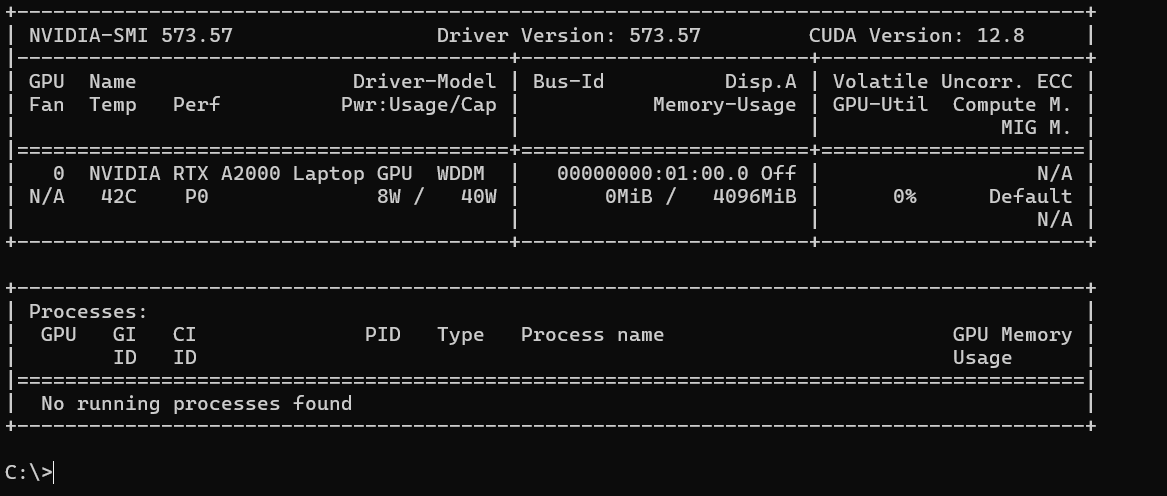
To check your cuda version you can run a command line nvidia-smi for system management info to see your current version if it is properly installed. the output should look something like this or you need to install the drivers from nvidia or your package manager
But what if you dont use nvidia cards you wont get this output instead you have rocm or amd or someting else so installing the drivers for your type of card. for amd based graphics cards the command would be rocm-smi and the output is a little different. for one thing RocM starts the device ids at index 1 instead of zero.

Now we have our basic environment to put a model in. Flux is a fairly baseline model for image generation, there are new versions but lets keep it simple for something that can use low amounts of vram and still make presentable images at a fairly high speed.
using pip now to install flux. Just to negate errors before they happen make sure pip is upgraded. you should be in your virtual environment already by the source /bin/activate command, you will see your command line captioned with (venv)
pip install --upgrade pip
Comments ()